The data contained in the statement reports corresponds to data on Orders and Positions:
•Orders data is taken from the Orders tab.
•Purchase & Sales, Cash Adjustments, and Collaterals data is taken from the Purchase & Sales tab.
•Trade data is taken from the Confirmations tab.
•Account Value Summary data is taken from the Account Summary and Margin Requirements tabs.
•Open Position Summary data is taken from the Open Position Summary tab.
•Transactions and Order Fills data is taken from the transaction history seen in the order information details.
Excel Statement Report data is extracted in this way:
•Trades: most recent day of the range
•Orders, Transactions, and Order Fills: each day of the range removing duplicates
•Purchase & Sales: each day of the range
•Account Value Summary: most recent day of the range
•Open Position Summary: most recent day of the range
•Cash Adjustments: each day of the range
If an order, such as a parked order, is present in the data for several days, it is included only once.
To generate a current day statement
1. Click the Setup button.
2. Click Current Day Statement.
3. If necessary, change the day and time.
4. Click OK.
For more options, you can also generate a statement report for the current day.
To generate a statement report
You can view statement reports for both local and non-local accounts. You should generate only one report at a time, so as not to overload your system.
1. Click the Setup button on the toolbar or right-click the account you wish to see a report for.
2. Click Statement Report. The Statement Report window opens.
For local accounts, starting and ending date, orders, order fills, and order status filters are not available.
Order options are also not available if you are not logged on to trade.
Only calendar days with historical data are available as the starting or ending dates. If none exist, then starting and ending dates are not available.
3. To save the data to an Excel spreadsheet, click the Excel Spreadsheet button, choose a date range, and the location to save the file to. To save the data in an HTML file, click the HTML button.
4. Choose the information you want included in the report by selecting the Trades, Orders and its sub-categories, Purchases & Sales, Account Value Summary, Open Positions Summary, and Cash Adjustments check boxes.
5. Click OK. HTML files open immediately. Excel files open after being exported and saved to the location you selected.
The file is saved as YYYYMMDD_HHMMSS_CQGStatementReport_YYYYMMDD-YYMMDD.xls. The first date is the date and time you exported the data, and the second date is the date covered in the report. If you rename reports, note that a report that is saved to the same location and with the same name as an existing report overwrites the earlier report.
You receive an error message if:
•you have selected Orders, but have not selected an Order Status Filter.
•you have not selected an information check box.
•the location you’re saving to does not exist.
•the starting date is later than the ending date.
To enhance the report with the Excel add-in “CQG Statement Reports”
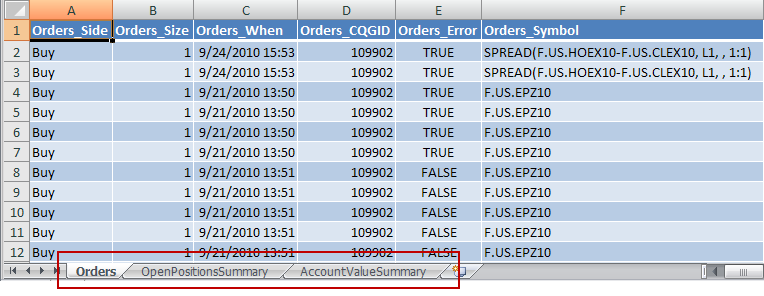
The statement report includes worksheets based on your selections. For example:
You can add reports, like Fill Price and Trades, using the CQG Statement Reports add-in. This image is from Excel 2016.

1. Click CQG STATEMENT REPORTS.
2. Click the report you want to run.
3. The report is added as another worksheet.
In the event you receive an error message that refers to an Add In problem:
1. In Excel, click Tools.
2. Click Options.
3. Click Add-Ins.
4. Select Manage: Excel Add-ins.
5. Click Go…
6. Select the CQG Statement Reports check box.
7. Click OK.
To view a reconciliation report
The reconciliation report is available if your FCM sends daily statement data to CQG. To view the report, you must have the by Date tab selected on the Accounts pane. If a reconciliation report is available, a checkmark appears on the document icon.
1. Right-click the date next to the check-marked icon.
2. Select Reconciliation Info. The reconciliation report is displayed in a browser window.